Factors to Consider Before Installing a Radon Mitigation System

Russell Monges • June 26, 2026
Factors to Consider Before Installing a Radon Mitigation System

Discovering elevated radon levels in your home is the beginning of the process, not the end of it. What comes next, choosing the right mitigation approach, understanding what your home's specific conditions require, and knowing what to expect from installation and beyond, is where most homeowners find themselves without a clear roadmap. The detail that consistently makes the biggest difference, in my experience, is how prepared a homeowner is before the first contractor conversation even happens. A radon mitigation system is a meaningful investment in your family's health, and approaching it with the right information upfront is what separates a system that performs well for years from one that falls short.


Not every home requires the same solution, and not every contractor will tell you that. Foundation type, home size, existing ventilation, and your specific radon readings all factor into what an effective system looks like for your property. Taking the time to understand these factors before any work begins puts you in a much stronger position to make confident decisions.


Before committing to any radon mitigation system, here are the key factors worth working through first:


  • Your radon test results
  • Type of foundation
  • Home size and layout
  • Existing ventilation and HVAC system
  • Cost and long-term maintenance
  • Post-installation testing

Understanding each of these before any work begins is what keeps the process from becoming a series of decisions you weren't prepared to make.


Your Radon Test Results

Test results that show elevated radon levels can feel alarming, but knowing exactly what those numbers mean is what allows you to respond to them effectively. Radon is measured in picocuries per liter of air, or pCi/L, and the EPA recommends taking action when levels reach 4 pCi/L or higher. Levels between 2 and 4 pCi/L fall into a gray zone where mitigation isn't required but is worth serious consideration. A result below 2 pCi/L is generally considered acceptable, though no level of radon exposure is entirely without risk. Where your result falls on that scale is what shapes every decision that follows.


Before acting on a single test result, it's worth understanding how reliable that number actually is. What your short-term test shows on any given day can be influenced by weather conditions, seasonal pressure changes, and how the home is being used at the time. If your result came back close to the 4 pCi/L threshold, a follow-up long-term test running 90 days or more will give you a more accurate average to work from. Two tests that produce significantly different results are a signal worth paying attention to, and going into any contractor conversation with a confirmed, reliable number puts you in a much stronger position.


That confirmed number also has a direct bearing on what kind of system your home will actually need. A result just above the action level may be addressable with a straightforward sub-slab depressurization system, while significantly elevated levels might require a more complex approach with multiple suction points. Sharing your exact results with any contractor you consult is essential, as it allows them to design a system appropriately sized for your situation. A contractor who doesn't ask about your radon levels before recommending a system isn't one you should feel comfortable trusting.

Type of Foundation

Your foundation type is one of the most important factors in determining which radon mitigation approach will work best for your home. Different foundation types require different installation methods, and understanding yours before any contractor visits gives you a clearer picture of what the process will actually involve.


  • Basement: Basements are the most straightforward foundation type for radon mitigation, as the concrete slab provides a clear surface for sub-slab depressurization. A pipe is inserted through the slab and connected to a fan that draws radon from beneath the foundation and vents it safely outside. Most basement installations are completed in a single day with minimal disruption to the living space.
  • Slab-on-grade: Homes built on a concrete slab without a basement are also well-suited to sub-slab depressurization, though access to the slab can sometimes be more limited depending on the home's layout. The pipe is typically routed through an interior wall or garage to reach the exterior, which adds a small amount of complexity to the installation. The end result is functionally the same as a basement installation.
  • Crawl space: Crawl spaces require a different approach, typically involving the installation of a sealed vapor barrier across the soil floor before a depressurization system is applied. Without proper sealing, radon can continue to enter through the exposed soil regardless of what the fan system is doing. Crawl space installations tend to be more involved than slab or basement jobs and may take longer to complete.
  • Combined foundation types: Homes with a combination of foundation types, such as a partial basement with a crawl space, require a system that addresses each section separately. Each foundation type present in the home needs its own mitigation strategy, which adds complexity and cost to the overall installation. Making sure your contractor understands the full layout of your foundation before work begins is essential.

Knowing your foundation type before your first contractor conversation means you'll have a better sense of what to expect in terms of system design, installation time, and overall cost.

Home Size and Layout

The size and layout of your home directly influence how complex and costly your radon mitigation system will be. A compact, single-level home with a straightforward foundation may need only one suction point to achieve consistent pressure reduction across the entire footprint. A larger home with multiple additions, wings, or foundation sections often requires additional suction points to ensure full coverage. Leaving any section of the home unaddressed isn't a minor oversight, it's a gap in the system that allows radon to continue entering unchecked.


Multi-story homes add another layer of complexity that goes beyond square footage. Radon that enters at the foundation level can travel upward through stairwells, HVAC ducts, and gaps in flooring, meaning upper floors aren't automatically protected by a system installed below. The placement of the suction point, the fan size, and how the piping is routed all need to account for how air moves vertically through your specific structure. A system designed for a single-story ranch won't necessarily perform the same way in a two-story home with a finished basement, even if the square footage is similar.


Additions, finished basements, and irregular layouts are details worth communicating clearly to any contractor before they assess your home. What I've noticed is that homeowners who walk their contractor through every section of the home almost always end up with a more thorough system design. A finished basement added years after original construction may have a different slab composition that requires its own consideration. Giving your contractor the full picture upfront is what sets the installation up for the best possible outcome.

Existing Ventilation and HVAC System

How your home manages air pressure has a direct impact on how well a radon mitigation system performs once it's installed. Homes with tightly sealed HVAC systems and limited natural air exchange can experience pressure differentials that affect how radon moves through the structure. A mitigation fan working against your home's existing pressure dynamics won't perform as well as one designed with those dynamics in mind. Before any system is installed, your contractor needs a clear understanding of how air moves through your home, not just beneath it.


Ductwork is where pressure problems most commonly show up in ways that directly affect radon levels. HVAC systems with leaky return ducts in basements or crawl spaces can actively pull radon-laden air into your living space, working directly against what the mitigation system is trying to accomplish. A contractor who identifies and addresses duct leakage as part of the assessment understands that radon management is a whole-house issue, not a single-point fix. An inspection of your ductwork before installation prevents a situation where two systems are working against each other under your own roof.


Exhaust fans add another layer to the pressure equation worth discussing with your contractor before installation begins. Bathroom, kitchen, and laundry exhaust fans create negative pressure that can draw radon in through foundation cracks and gaps when they're running. The cumulative effect of multiple fans operating simultaneously can influence radon levels even in a home with an active mitigation system. Sharing that information upfront means the system gets designed around how your home actually functions, not just how it looks on a blueprint.

Cost and Long-Term Maintenance

Understanding what drives the cost of radon mitigation is what keeps you from being caught off guard by a quote that feels higher or lower than anticipated. Most standard installations fall between $800 and $2,500, with the final number depending on your foundation type, home size, system complexity, and local labor rates. The gap between a $900 quote and a $2,200 quote almost always reflects real differences in system design, materials, and contractor experience, and I've learned that the cheapest option rarely delivers the best long-term outcome. Ask any contractor you consult to walk you through exactly what's included in their quote before making any decisions.


The installation price is only part of the financial picture. The fan, which is the only moving component in most systems, is designed to run continuously for years but will eventually need replacing, typically at a cost of $150 to $300 including labor. Annual professional inspections add a modest recurring expense that's worth budgeting for, as they confirm the fan is performing correctly, check for new entry points, and verify that radon levels remain within acceptable limits. A pressure gauge or indicator on the system lets you monitor performance between those professional visits without any specialized knowledge.


Post-installation radon testing is another ongoing cost that's easy to overlook when you're focused on the upfront installation price. Testing every two years, or after any significant changes to the home, is what confirms the system is continuing to do its job as conditions change over time. Taken together, the annual inspection, periodic retesting, and eventual fan replacement represent a manageable long-term commitment that's far less expensive than the health consequences of unaddressed radon exposure. Approaching radon mitigation as a long-term investment rather than a one-time expense is what keeps your home protected for years to come.

Post-Installation Testing

Installing a radon mitigation system is not the final step in the process, and treating it as such is one of the most common oversights homeowners make after the work is done. A system that's running as expected should produce a measurable reduction in radon levels, but the only way to confirm that reduction is to test the air in your home after installation. Without post-installation testing, you're operating on the assumption that everything went according to plan rather than the certainty that it did. The distinction matters more than most people realize when the whole point of the system is to protect your family's long-term health.


Most certified contractors recommend waiting at least 24 hours after installation before testing, giving the system time to stabilize and begin depressurizing the space beneath the foundation. A short-term test placed in the lowest livable level of the home for two to seven days is the standard approach for confirming that radon levels have dropped below the EPA action level of 4 pCi/L. If the results come back above that threshold, the system may need adjustments, additional suction points, or a larger fan, and a contractor who stands behind their work will address it without treating it as a separate billable job. Getting to a confirmed result below the action level is what the entire installation was working toward, and post-installation testing is what tells you whether you've actually arrived there.


A confirmed result also becomes the new baseline for your home and the reference point for all future retesting. Knowing what your radon levels look like after a properly functioning system is in place gives you a clear benchmark for evaluating any future changes in performance. Retesting every two years from that baseline is what allows you to catch shifts in system performance before they become a health concern. A documented testing history is also valuable if you ever sell your home, as it gives future buyers verifiable evidence that the radon problem was properly identified and addressed.


Conclusion

A radon mitigation system is one of the most impactful investments you can make in your home's long-term health, and approaching it with the right information upfront is what makes the difference between a system that performs as expected and one that falls short. Your test results, foundation type, home size, ventilation setup, and budget all factor into what an effective system looks like for your specific property. None of these considerations are complicated on their own, but overlooking any of them is where well-intentioned installations run into problems that could have been avoided. Post-installation testing is what closes the loop, and a documented history of results is what proves the investment was worthwhile for years to come.

Share this article

Recent Posts

Debunking the Most Common Myths & Misconceptions About Radon Testing
By Russell Monges June 26, 2026
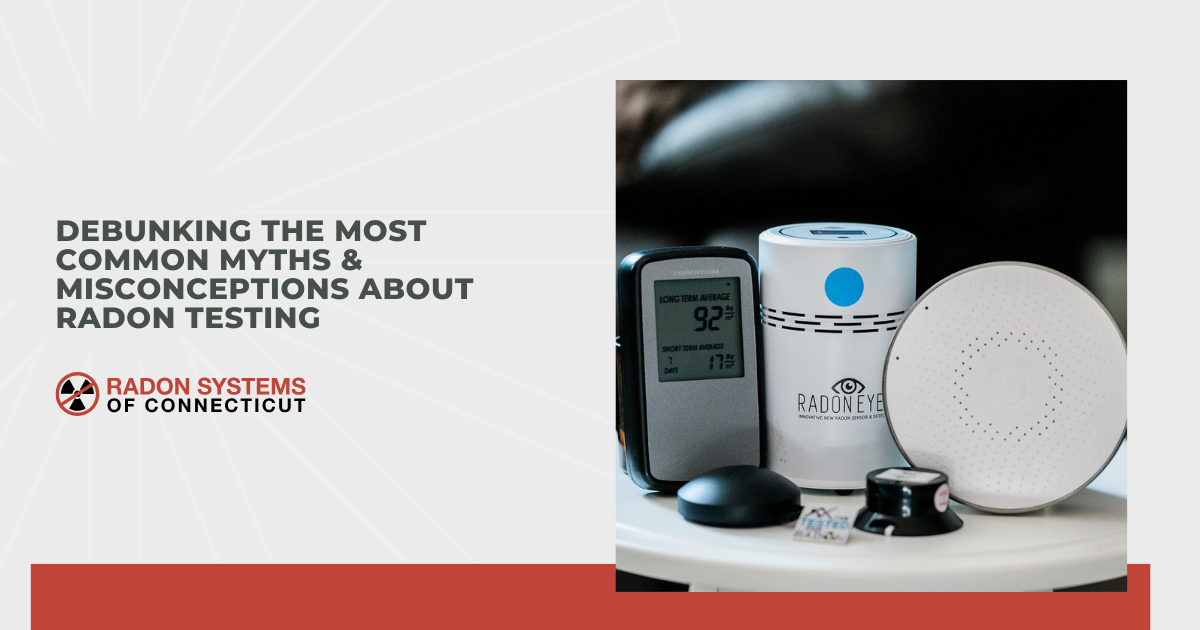
Discover the truth behind eight common radon testing myths that keep homeowners from protecting their families, and find out what you should actually know.
How Much Does Radon Mitigation Cost in Connecticut?
By Russell Monges June 8, 2026
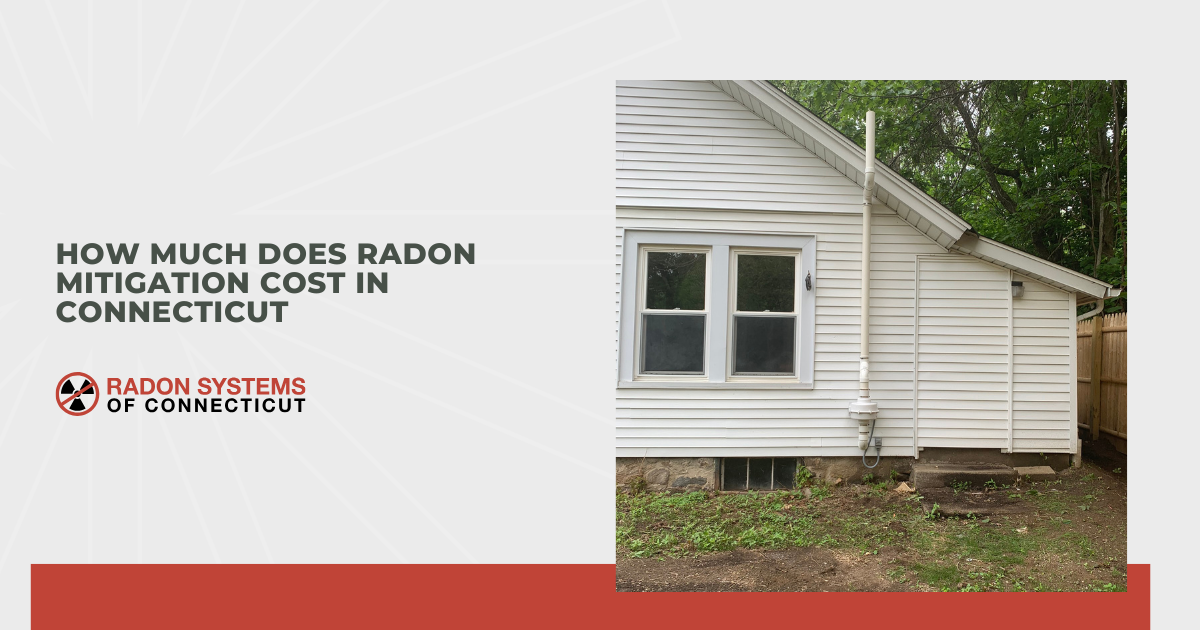
Learn what affects radon mitigation costs in Connecticut, what to ask a licensed contractor, and how to feel prepared and confident going into the process.
Do Radon Systems Require Ongoing Maintenance?
By Russell Monges May 14, 2026
Find out whether radon systems require ongoing maintenance, what to check regularly, and how to keep your system operating safely and efficiently year-round.
Common Mistakes Homeowners Make When Doing DIY Radon Testing
By Russell Monges May 14, 2026
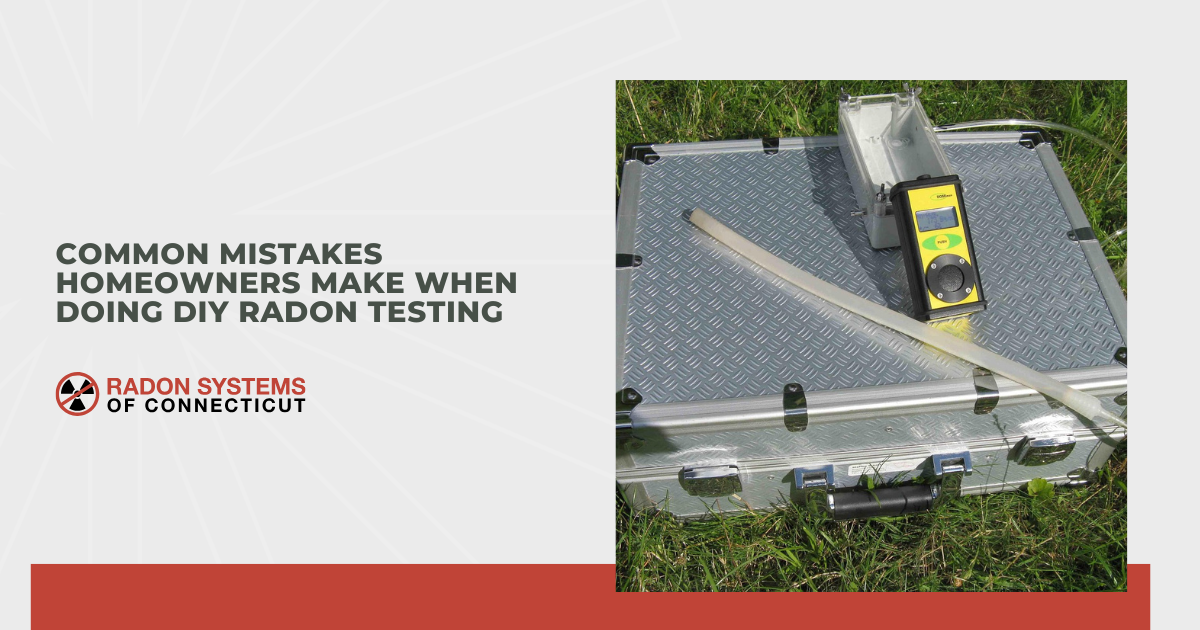
Learn the most common mistakes homeowners make during DIY radon testing and how placement, timing, and conditions affect accurate indoor radon test results.
Prevention Through Radon Testing: Recognizing Radon Poisoning Signs
By Russell Monges May 14, 2026
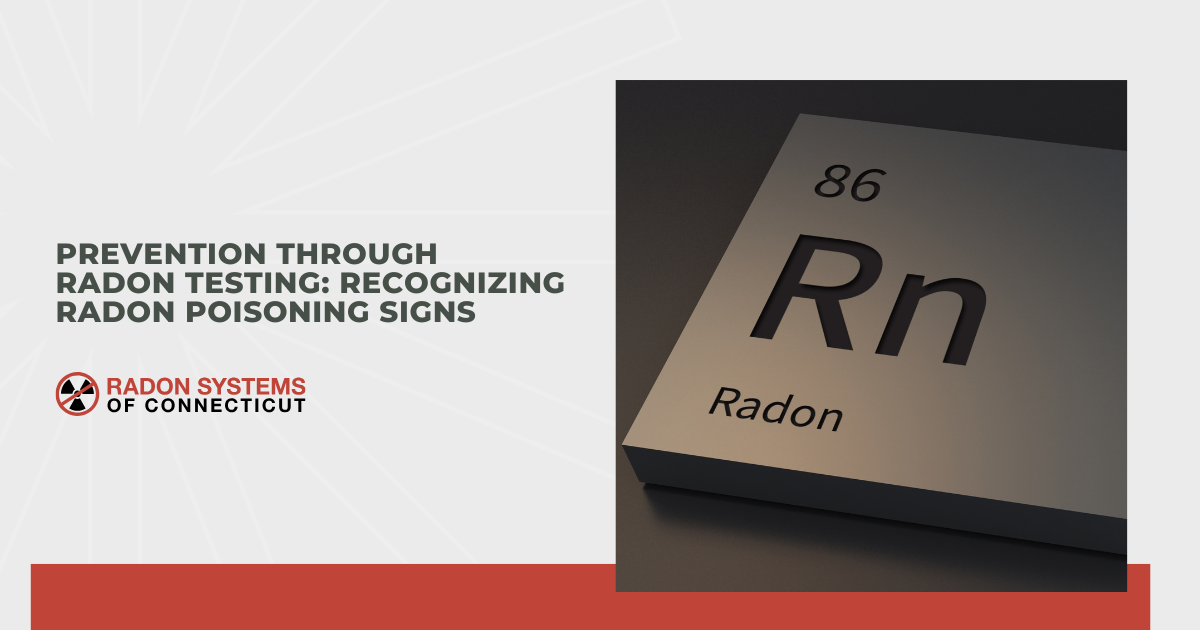
Discover how radon testing helps prevent exposure and learn the key signs of radon poisoning so you can keep your home’s air safe for the people you love most.
DIY vs. Professional Radon Testing: Which Is Right for You?
By Russell Monges May 14, 2026
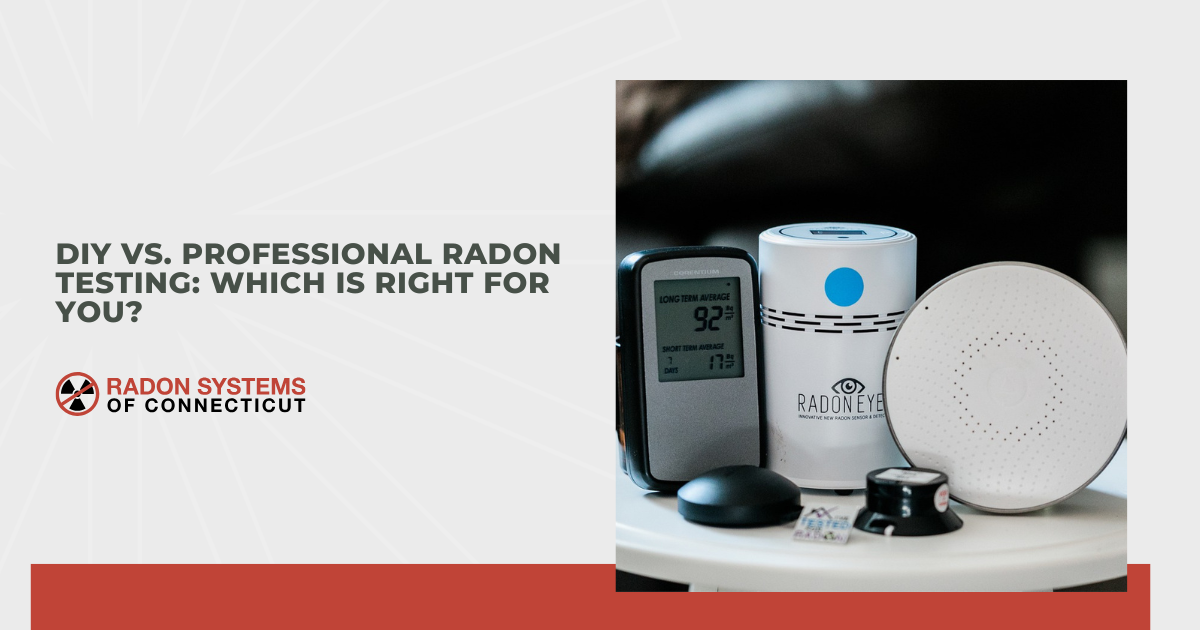
Explore the key differences between DIY and professional radon testing in protecting your family, and discover which option is best your needs and budget.
How to Choose the Right Radon Mitigation System for Your Home
By Russell Monges May 14, 2026
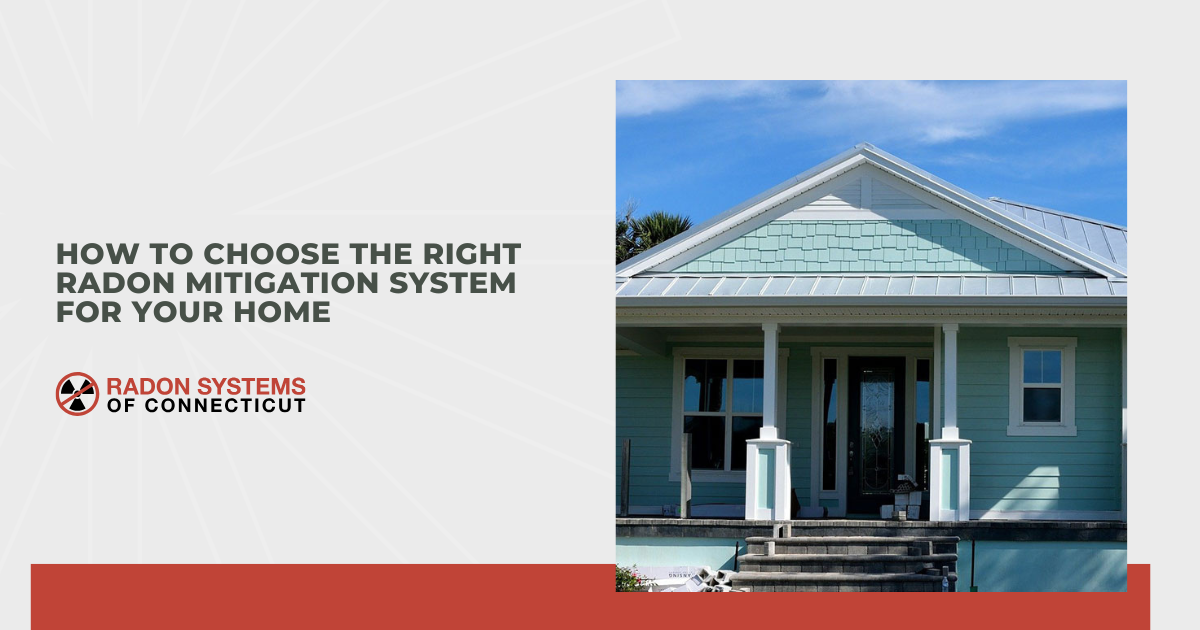
Learn how to choose the right radon mitigation system for your home. Compare types, costs, and features to ensure safe indoor air and long-term protection.
Comparing Short-Term and Long-Term Radon Testing
By Russell Monges May 14, 2026
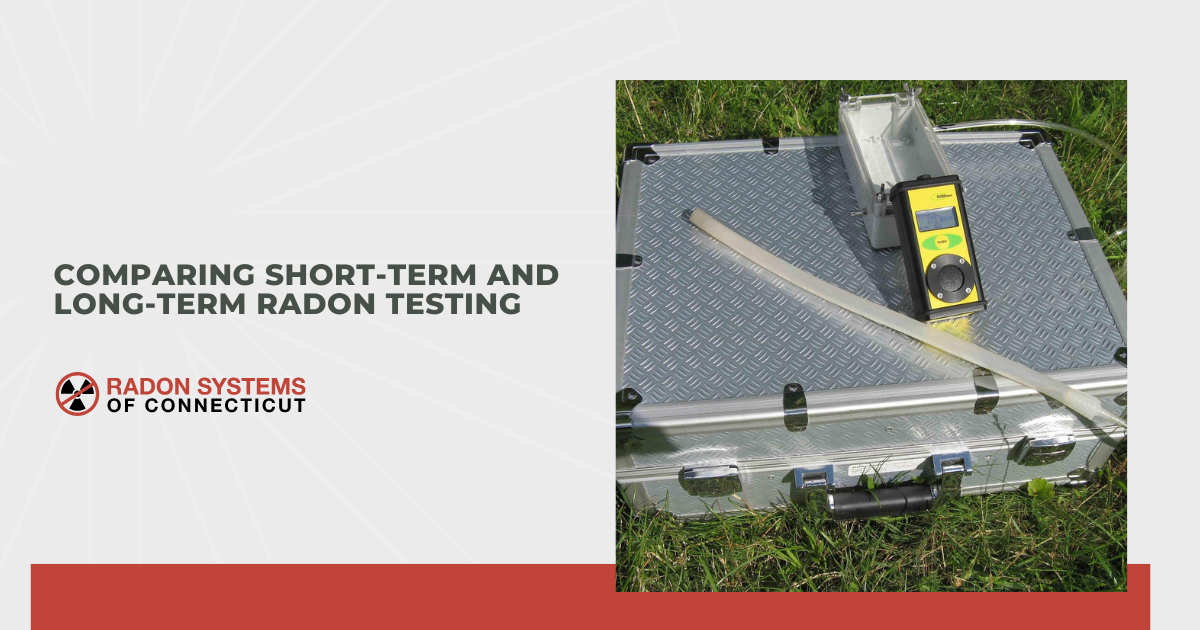
Radon testing is vital to maintain home health and safety. Explore both short- and long-term testing options to decide which one performs best for your needs.
How Radon Testing Can Prevent Long-Term Health Issues
By Russell Monges May 14, 2026
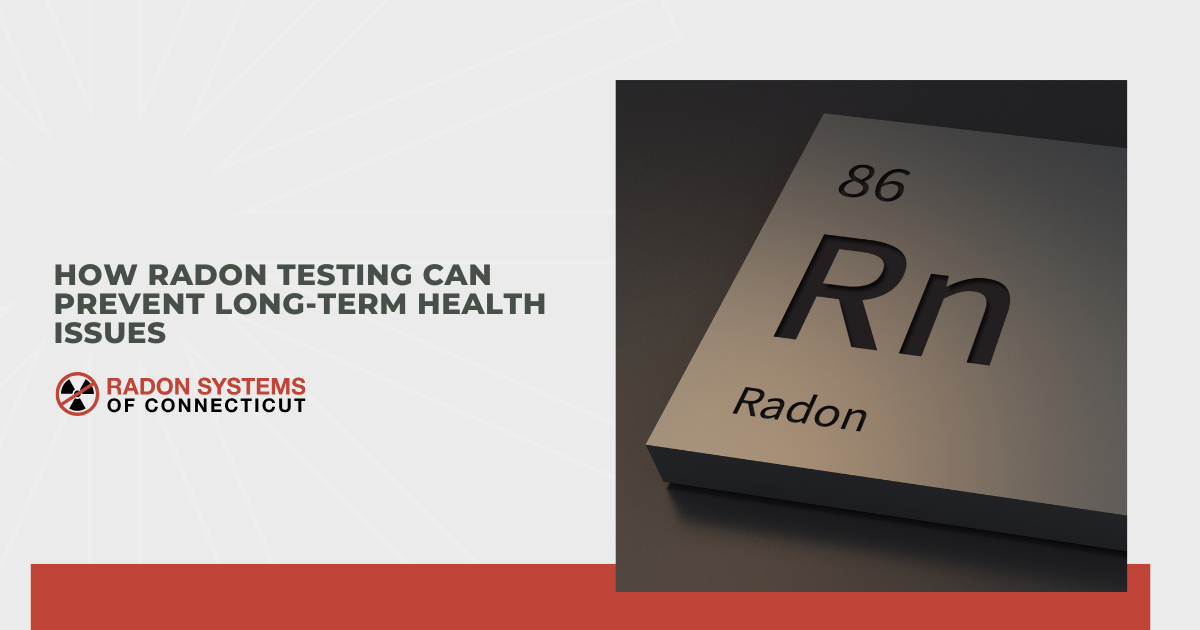
Radon testing is crucial for detecting harmful gas levels and preventing long-term health risks like lung cancer. Learn why every home needs radon testing.
Can Having a Radon System Boost Home Value?
By Russell Monges May 14, 2026
Improve air quality, safeguard your family, and elevate your property’s market value with a radon mitigation system that delivers clean air and long-term safety.
Show More